
Metal Roof with Chimney
We’ve worked hard to build our new home’s foundation, walls, and floor and we need to cap this all off with a roof to protect our investment of time and money. Our homesteads in Maine and Saskatchewan had a standard gable roof and the roof rafters were cut and installed onsite. Along with the new experience we are having building with ICF, we decided to go with a hip roof all the way around and have it pre-engineered with structural wood members. Let’s delve into roof trusses and exterior roofing for a hip roof on our new off grid home.
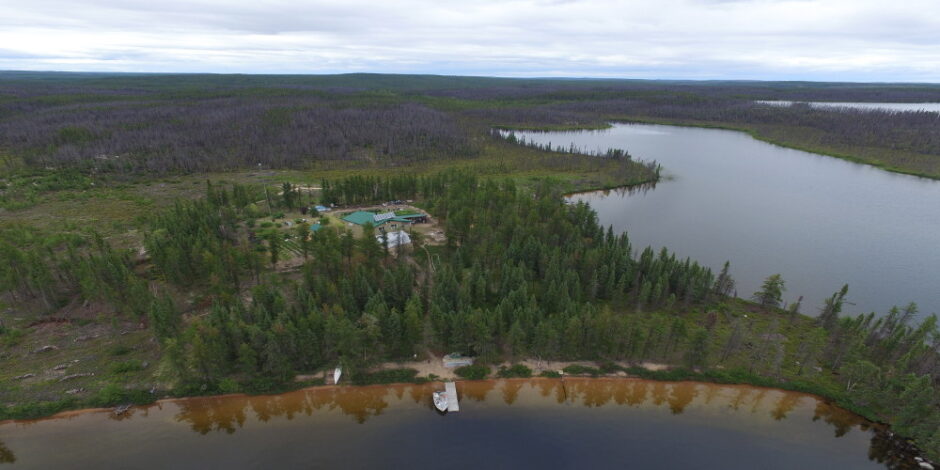
Because we live on the coast, literally a couple hundred feet from the ocean, we knew we would have our share of strong to hurricane winds in the coming years. Although strong storms are the norm for coastal areas, with the weather seemingly more extreme these days, we wanted to insure we weren’t sweating it out every time a gale showed up.
We’ve been living in a tent since June, so we are keenly aware of every wind gust that blows through the area. We are constantly reminded of that fact when the tent shakes and bellows for long periods with every passing storm.
Hip Roofs Have Advantages
A hip roof is certainly different from any roof we have ever built before. In researching roof profiles, I wanted a roof that would shed the wind regardless of what direction it came. I also wanted it to be extra strong to resist lift and shear loads when faced with hurricane winds. The hip roof style fit the bill and I chose a 5:12 pitch meaning for every 12 inches horizontal distance, our roof rises 5 inches vertically.
Pre-Manufactured Roof Trusses
The next decision I asked myself was did I want to try framing a hip roof all round or was it smarter to frame it using pre-manufactured roof trusses. It couldn’t hurt to get a few prices so I submitted the roof plan to a number of truss manufacturers.
I had a number of exchanges with Bruce Perley who is the design manager for Atlas Structural Systems. Bruce thoroughly answered all my questions, essentially gave me a complete roof with very little I needed to frame in, plus would deliver it to our homestead for a reasonable price. Bruce and Atlas did an outstanding job with our trusses and I’m very happy with my decision.
A bonus that I was not aware of until I inquired further is these trusses do not need any framing support underneath. In other words, the whole house can be open concept if desired. We will frame in some walls and rooms but our living room/dining room/kitchen will be open with no support posts necessary. Our flooring will be sheet vinyl that comes in a 12 foot width so having the entire floor open allows us to install all our flooring without any obstructions before I start building the walls. That way we’re not trying to fit vinyl flooring in every room. Simply roll the vinyl out the entire length of the house and glue it down. Then build all the walls.
Roof Truss Delivery
With nervous anticipation the day arrived when our trusses would be delivered. Our driveway is long and there are some tight turns against some unforgiving terrain. The first time the contractor with the excavator arrived to do some work here, he tore up the tire and rim on his trailer on a rock abutment at one of those tight turns. Plus, there are a couple of dips where trailers have scraped bottom as they came in.

Roof Truss Delivery
Our trusses are 38 feet long and I worried they would bottom out or get torn up as they rounded a tight corner but the driver was masterful and got in with no problem. My worst fears of chunks of truss lumber deposited along the driveway never materialized and it was mighty exciting to see the boom truck unload all the long trusses right on the top plate ready to be rolled upright then nailed in place.

Trusses Positioned on Top Plate

Boom Saving Us Lots of Work
Truss Installation
Although we had no experience with trusses, I did have a helper, complete documentation and engineered drawings. Each truss was marked as to its location of installation. I was apprehensive about the process but once we started, everything followed a logical order. Follow the drawings. Measure accurately on the top plate. Mark it all and then do a double check. It would have been a real bear to have to redo a section, or worse, the whole roof because of sloppy workmanship.

Installing Trusses
There were a number of ways I could have finished the top of our concrete walls to accept the roof trusses. I chose to use a pressure treated 2 X 12 right on top of the concrete with a 2 X 10 pressure treated plank on top of that. Essentially giving me a double top plate. That top plate was pre-drilled to accept anchor bolts which were wet set in the concrete at the time we poured it. I measured out the location where each roof truss would go and made sure to drill my anchor bolt holes in the open areas between trusses.
The building code specified the maximum distance between anchor bolts but I spaced them closer. My motto is over build-over engineer! Then I used H10A Simpson hurricane ties on the inside of the building’s top plate to truss. That would easily handle wind loads. But for extra peace of mind, I used Simpson H2.5A ties on the outside of the top plate to the trusses. So we doubled up on the hurricane ties.

Starting to Look Like Something
In hindsight, I might have done it differently by using the same Nudura anchoring system we used to hold the floor in place in the concrete, but instead embed the parallel plates in the concrete at the top of the wall. That way the hurricane straps would be the anchor plates set in concrete and it would have been easy to slide the truss in location between the plates and screw in place. It’s just something I’d study as an alternative to the way I did it.
Roof Sheathing
Once all the trusses were in place, we used ¾” OSB sheathing which I glued down on every truss with PL premium construction adhesive.

One Way to Haul Sheathing Up to the Roof
Then I screwed it down roughly every 8 inches. Finally I pounded some nails in on every truss for good measure. All joints between sheets had a bead of caulk. Good luck trying to remove our roof Mr. Wind Gust!

Sheathing the Roof
On the hip joints, I laid aluminum flashing down the seam and used roofing nails to fasten it in place. Then I laid Nova Seal down. It comes by the roll and is the same concept as laying out tar paper. But this Nova Seal is a much tougher, more durable waterproof membrane. I stapled it down and then used strapping over the seams. Believe it or not, we had leaks in the house. I believe the strapping I laid over the seams held water in some of the winter downpours and the water backed up under the membrane. If I was to do it again, I would run the strapping at a sharp angle more up and down the roof line as opposed to across the roof to get the water off the roof as fast as possible.
Metal Exterior
The final piece of the puzzle is metal roofing. We will use metal roofing to finish the job.

Soffit Installed
We used metal on the roof and siding on our last home in the wilderness of northern Saskatchewan. There were many reasons we chose metal. It was relatively light and easy to load and off load from a plane. It is easy to install, easy to maintain and it’s fireproof. It saved our homestead twice. Please stop back for my next couple of posts. We’ll talk about forest fires and how we managed to survive two firestorms.
Until next time, keep the dream alive! We wish you a great day!
Ron and Johanna
If you found our site and this post of value, would you please click the “Top Prepper Sites” link in the right hand column to vote for us. Thank you so much!
Please subscribe to our blog if you would like email notification of new posts.
Wow your place is sure shaping up. Bet you can not wait to move in and get out of that tent!
Good Morning Philippe. We actually made the move into the house a couple of weeks ago. Here’s the Facebook post I made for the occasion. https://www.facebook.com/OffGridAndFree.MyPathToTheWilderness/posts/1752837058109428
It’s just a shell at this point but we have hot water and a wood stove to heat with and cook on so progress is being made. Slowly but surely. I hope you have a great day! Ron
It looks like a good design to me.
Thanks Allen for the visit and comment. When the house withstood hurricane winds in one of this past winter’s storms and the eaves were open and exposed, that gave us a lot more confidence that what we have here will stand tall against just about anything. All the best! Ron
You have gone through a lot of steps to get indoors, and living in your tent trough the winter must have been difficult. You both amaze me. – Margy
Hi Margy, In some ways, it’s harder being in the house. It’s colder. Much larger area to heat with no insulation in the ceiling. We are lucky to get it to plus 10 and when we get up in the morning, it’s about +3 in here. We’re tired of being chilly. Went down to -7 last night so it is abnormally cold. No real signs of spring yet. But every day that goes by, we get something accomplished and it’s one day closer to a decent warm spell.